My benches are based on the standardised work tables developed by the US Experimental Aircraft Association. These are a set of plans for small, modular tables that can be clamped together to create larger units for assembling aircraft wings and fuselages.
Right then, welcome back to the third, and hopefully final part of this exciting exploration of the wild world of ballasts for neon bombarding. In this post I’ll go through the final choke build, testing, and installation and take a look at how the finished choke performs in actual use.
OK so welcome back to part two of the series on ballasting for neon bombarding systems. In this post we’ll take a look at the principals of inductive ballasting, and why it is a better bet for neon workshops than the resistive techniques we looked at in the last article.
After getting hold of a usable bombarding transformer the next step was to try to buy or build the necessary controls to allow it to be used to successfully process tubing. In this post I’ll discuss some of the theoretical background involved in designing high power ballasts: next time I’ll go through the design, prototyping and build of the choke to control my bombarder.
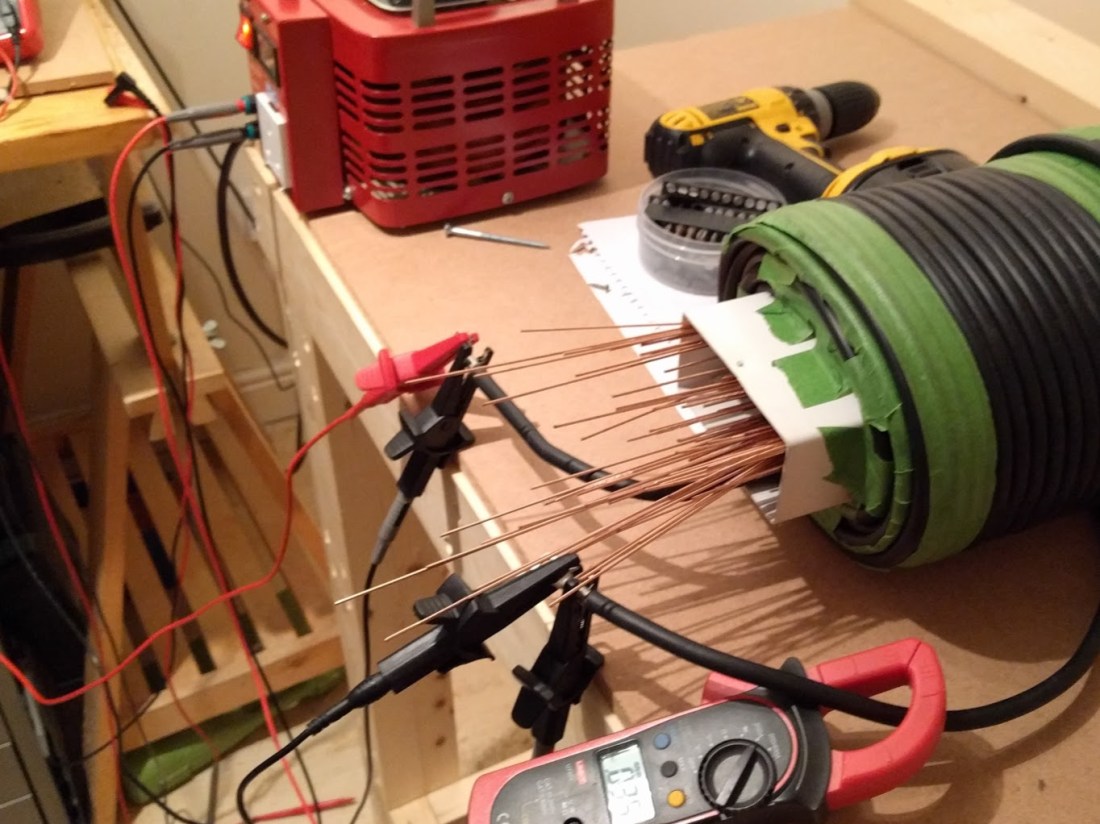
The electrical controls for a neon bombarder are actually quite simple: one or more on / off switches to control the low voltage supply to the transformer and a current limiting device to allow the current to be varied over a range of levels. Ideally the current control should allow the current to be adjusted smoothly over a wide range: from one hundred milliamps or less to currents exceeding one amp.
Bombarding control cabinet (we’ll get to this in a future article).
Working together the vacuum pumps, manifold, and bombarder form the basic requirements for processing neon lighting. The pumps and manifold allow units to be cleaned (heating) and then emptied of impurities (evacuation), before a small quantity of one or more rare gasses is added at a controlled pressure (filling).
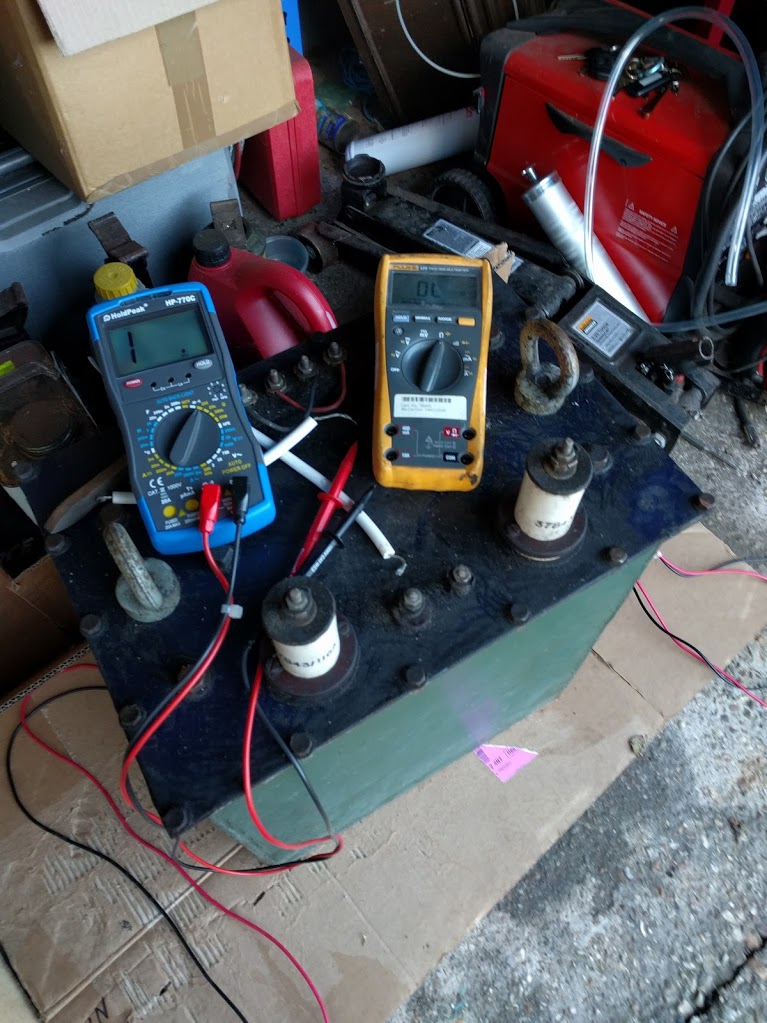
The bombarder comprises all the electrical equipment needed to provide the high voltage, high current power required for the heating and cleaning process inside the unit.
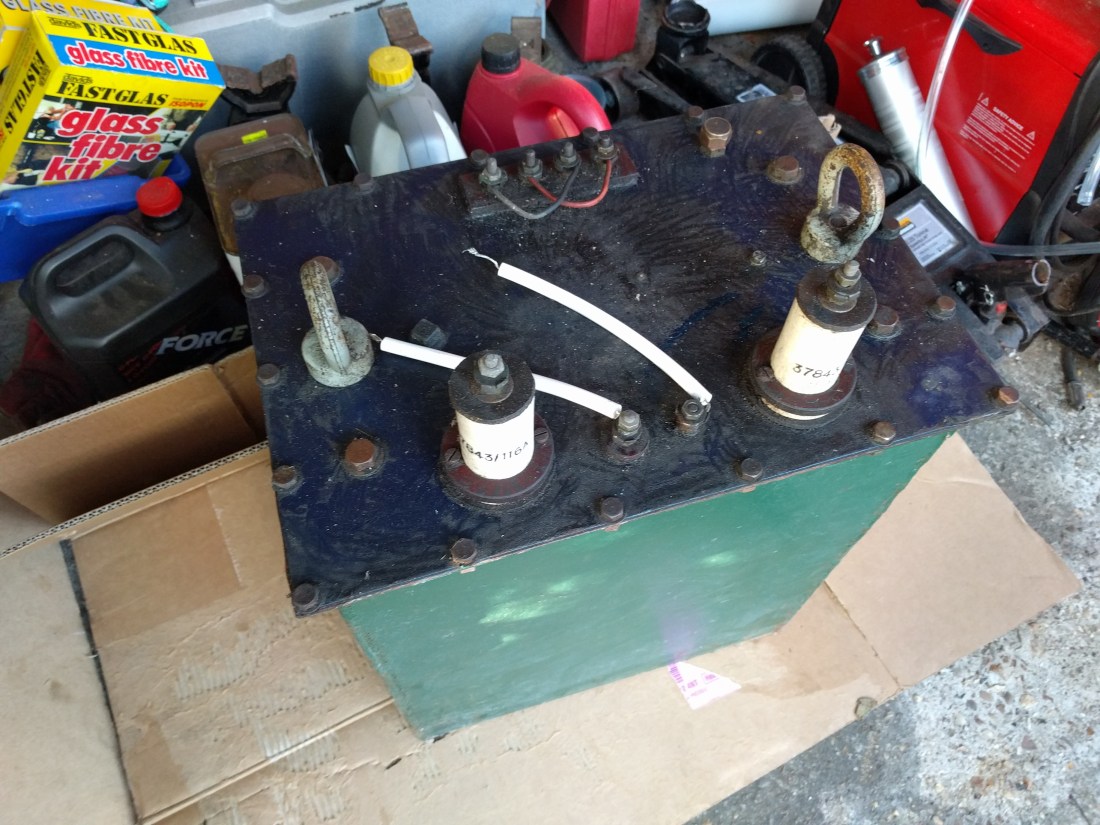
The bombarding transformer sitting in the garage awaiting installation.
After a disappointing series of block letter ‘A’s last week I realised my basic bends were letting me down. Basic bends are like the letters of the neon bending alphabet: they’re the heart of neon glass work, and being able to make them accurately and consistently is crucial to making clean, correct looking letters.
OK, welcome back and thank you for sticking with me past the first post! Before I jump into all the technical details, plans, sketches and so on, I wanted to post a quick overview or recap of what I’ve been doing over the last year or so since the project kicked off. Take this as a brief tour or status update: I’ll go through things roughly in order as you walk into the shop.
Welcome to the UNeonised blog. In May 2016 I attended an event in London run by the amazing folks at Neon Workshops. Although folks who know me will probably have seen my other high voltage projects (Tesla coils, Marx generators, Jacob’s ladders and the like), this was my first foray into the world of neon lights. Watching Richard and Julia bending glass in the fires was mesmerising and inspiring: it’s probably fair to say I was already hooked at that point.
In the summer, I happened across a bombarding transformer for sale for just a couple of hundred pounds on eBay (don’t worry if you don’t know what that is – I’ll have plenty more to say in future posts!). After winning the auction and lugging the massive 118KG monster all the way back to Aldershot (thanks Axel!), I started a project to build my own little neon workshop – building as much of the equipment as I could to keep costs down, and to learn how everything worked.
20KVA Masonlite Bombarding Transformer
Once I’d gotten the major parts of the shop built in March 2017 it was time to really begin the long, slow, tricky, and sometimes painful process of learning to bend neon like a pro.
I plan to use this blog to publish photos and posts of my adventures in bending and bombarding, as well as technical details of my equipment and set up for anyone who either wants to just follow along, or to get stuck in building and using their own gear.
Beautiful neon coil made by Julia at the London workshop